Brown colour Lightroom preset: Brown Color Lightroom Presets is a popular preset used in Lightroom Mobile and people use it to edit their photos. Because using presets doesn't take the effort of editing photos in the Lightroom mobile app. And the photo is edited immediately. This does not require time.
 |
| Brown colour Lightroom preset |
👇
How To Edit photo in Brown Colour with Lightroom preset
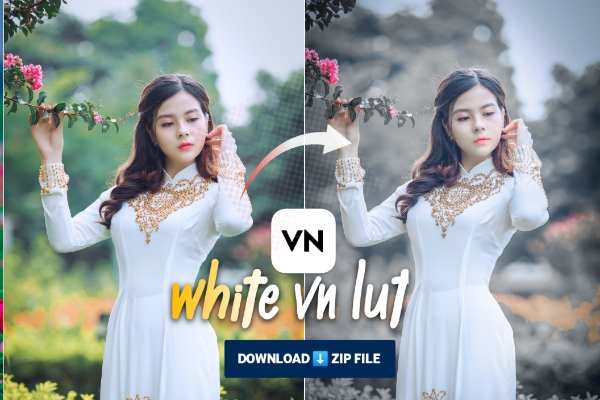
If you want to change the color of your photo like the photo posted in the thumbnail, then below we are telling you the tutorial to edit photo in brown color, follow carefully.
Step: To Edit photo in Brown colour
- Download the brown colour Lightroom preset from here
- Open the Lightroom app
- Add downloaded DNG or zip file in Lightroom App
- Now open DNG photo And copy setting
- Now go back and open your photo and paste preset setting
How To Add DNG Lightroom preset
By the way, if you have knowledge of photo editing, then you would know about how to use the setting of DNG preset in Lightroom app. But still we tell you how you can use the dng file of Lightroom preset on your photo.
So to use the DNG Lightroom presets in the Lightroom mobile application
- first locate the downloaded file on your file manager which will be found on your phone. So first extract that file, after extracting there you will get two files in which one will be DNG file and the other will be Dot Cube file.
- Now open your Lightroom mobile application and leave it running in the background and go to the home of your phone. Now open the file where your DNG file is present then select this DNG file by long press and share it in Lightroom mobile application.
- Now open DNG Presets to copy the setting of Brown Color Lightroom preset, now here you will see that there is 3dot in the top right corner, click on it and then click on copy setting.
- Now open your photo which you want to edit in brown color. After opening the photo, again go to the three options in the top right corner and this time click on the paste setting, then here you will be able to see that your photo has been edited in brown color.
So in this way you can edit any of your photo in brown color with the help of Lightroom preset.
Importance: Keep in mind that whenever you use Lightroom preset, always choose the same photo whose quality is good so that photo editing can be done in a better way.
Benifit of use Brown Lightroom preset
Friends no doubt, if you use lightroom preset of brown color to edit photo then surely it save your time and change photo color to brown color in just one click . The advantage of using Lightroom presets is that the user does not need to edit anything manually, so even users who do not know photo editing can edit their photos professionally with the help of Lightroom presets.
Read More:- yellow Lightroom presets
How To download Brown Colour DNG Lightroom preset
To download Brown color lightroom preset, click on the download button given on the post, after that this Brown color Lightroom preset will be downloaded in your phone's file manager as zip format.
Note that you'll need the Lightroom mobile app to use Lightroom's DNG presets, so install that as well from the Google Play Store.
Conclusion
So guys we hope you like this photo editing tutorial and also edit your photo in brown color, I think this technique of photo editing is best so download and use this lightroom preset . If you have any question in your mind then you can ask us in the comment box.